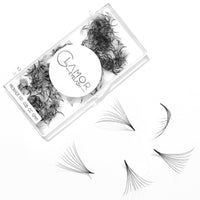


What is a threaded eyelash extension?
Eyelash extensions are a combination of classic and volume methods. Instead of using each lash one by one, it will be very time consuming and the eyelashes will not be as thick as desired. The technician will take 2-4 strands (floors) of different lengths and lengths, depending on the customer's preferences. Sew together and join a real lash to create layering.
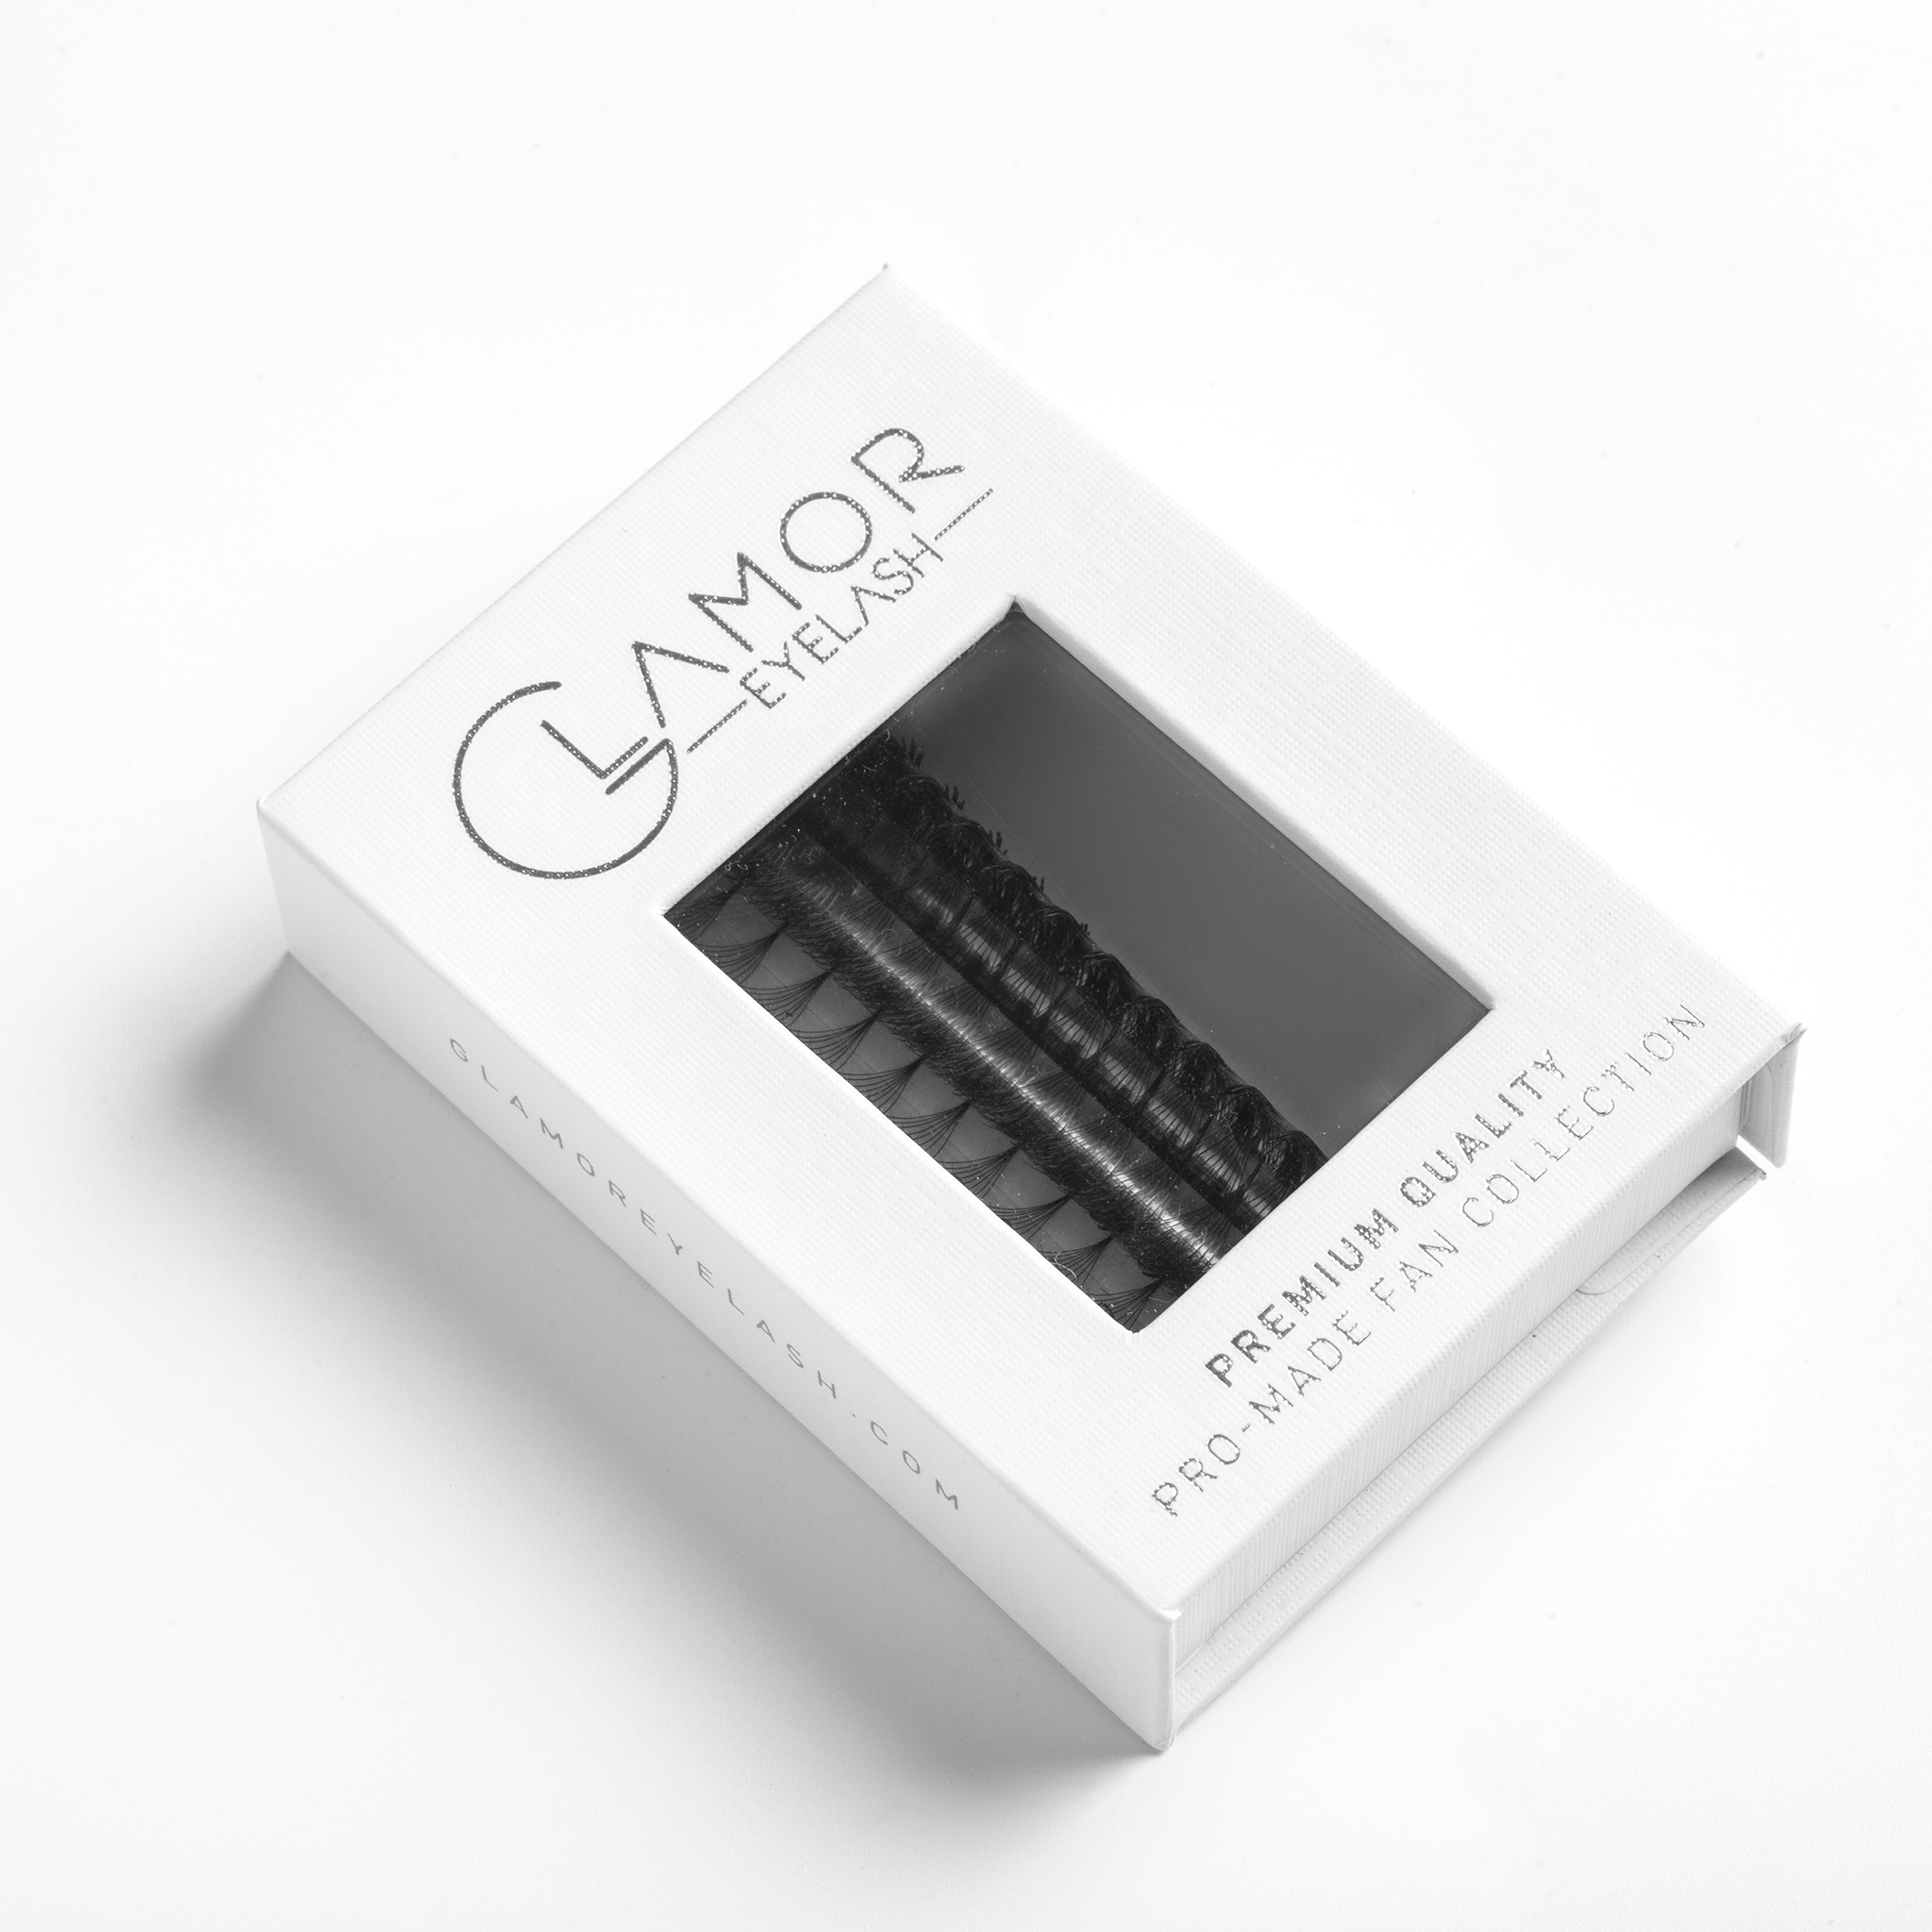
This type of eyelash extension only uses many eyelashes to join together, not to create a fan of eyelashes like volume eyelashes. Because they blend together to thicken eyelashes, it is necessary to choose thin, light eyelashes with many different lengths. As follows:
The lashes need to be slightly longer than the real lashes. It is recommended to choose 13mm – 14mm long lashes in the top layer. The lower layers should be about 1-2mm longer than the upper layer.
The thickness of the eyelashes is 0.07mm, the eyelashes like this will be thinner and more natural.
Curvature C or CC depending on the eye shape of the client's eyes.
How to connect yarn yarn
Here, we will guide you how to connect yarn yarn in detail. Although it sounds complicated, this eyelash extension technique is quite simple.
Step 1: Check the condition of the customer's eyelashes and eyes
First, the technician needs to check the condition of the customer's eyelashes and eyes to see if they are qualified to be suitable for eyelash extensions. If the eye is infected or the eyelashes are too weak, easy to fall, they will not be able to connect the eyelashes. In addition, the sensitive and easily irritated customer body will also be in danger after beautifying. So it is necessary to check and ask customers carefully.
Step 2: Advice on eyelash extensions
Next, the eyelash extensionist needs to advise the customer about this type of eyelash extension. Let the customer choose the number of layers (fibers) of the eyelashes to be joined together. Besides preferences, it is also necessary to rely on eye shape and thinning condition to choose the appropriate number of layers of eyelashes.
If the eyelashes are weak, it is best to only create 2 layers so as not to weigh on the real eyelashes and eyes. The eyelashes are strong, not easy to break, so create a convolution 3 or 4.
Step 3: Clean your eyes and real eyelashes
This step will help the eyelash extension glue stick longer, and limit eye infections. If you have makeup on, you must clean the eye area with an oil-free makeup remover. Then wipe the eyes again with clean water or physiological saline. Use a soft cotton pad to gently wipe each operation.
Step 4: Create cluster lashes and stratify
Create separate bundles of outer lashes, before connecting to real lashes. Let's convolution according to the predefined number of mi then proceed to stratify the mi. The last layer will have the shortest length, then choose longer lashes to create the upper layer. Layers are 1-2mm apart, and the upper layer will also be the longest lashes. Ideally, each layer is 2mm apart to easily see the layering and order of eyelashes.
When opening eyelashes, do not widen the spread angle too much, otherwise it will overlap with the fan mi volume. Just create small bunches of eyelashes, just enough to see the layers.
Step 5: Conduct eyelash extensions
Use a special adhesive tape to fix the lower lashes to make it easier to manipulate the eyelash extensions for the upper lashes. Pick up the lashes created with tweezers and apply a sufficient amount of glue and stick it on the real lashes. Do not use too much or too little glue, because it can make eyelash extensions bad or damaged.
Make eyelash extensions for both upper lashes in turn. Remember not to apply too many lashes in one place, spread them evenly. And should create a sole between the eyelashes, the eyelash beams so that the eyelashes are most natural and harmonious. After completing the upper lash extension, remove the tape and do the same for the lower lash line.
Step 6: Double check
After completion, the worker needs to check the eyelash base and the overall set of eyelash extensions. To ensure that the eyelash extensions are not skewed or lost their form, they need to be reshaped again. And next, use a specialized dryer to make the glue dry faster.
Step 7: Advice on eyelash care after extension
After drying, customers still need to wait a little longer for the glue on the eyelashes to dry completely. At this time, the technician will advise on how to take care of the eyelashes after the extension so that the eyelashes are beautiful and last longer.

