To make eyelash extensions for beginners, the first thing you need to do is prepare yourself with the most basic and necessary eyelash extension tools including:
- Eyelash extension tweezers.
- Eyelash extension glue.
- Eyelash remover in the form of glue or glue.
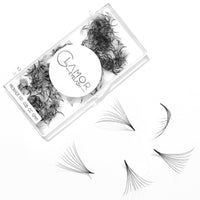
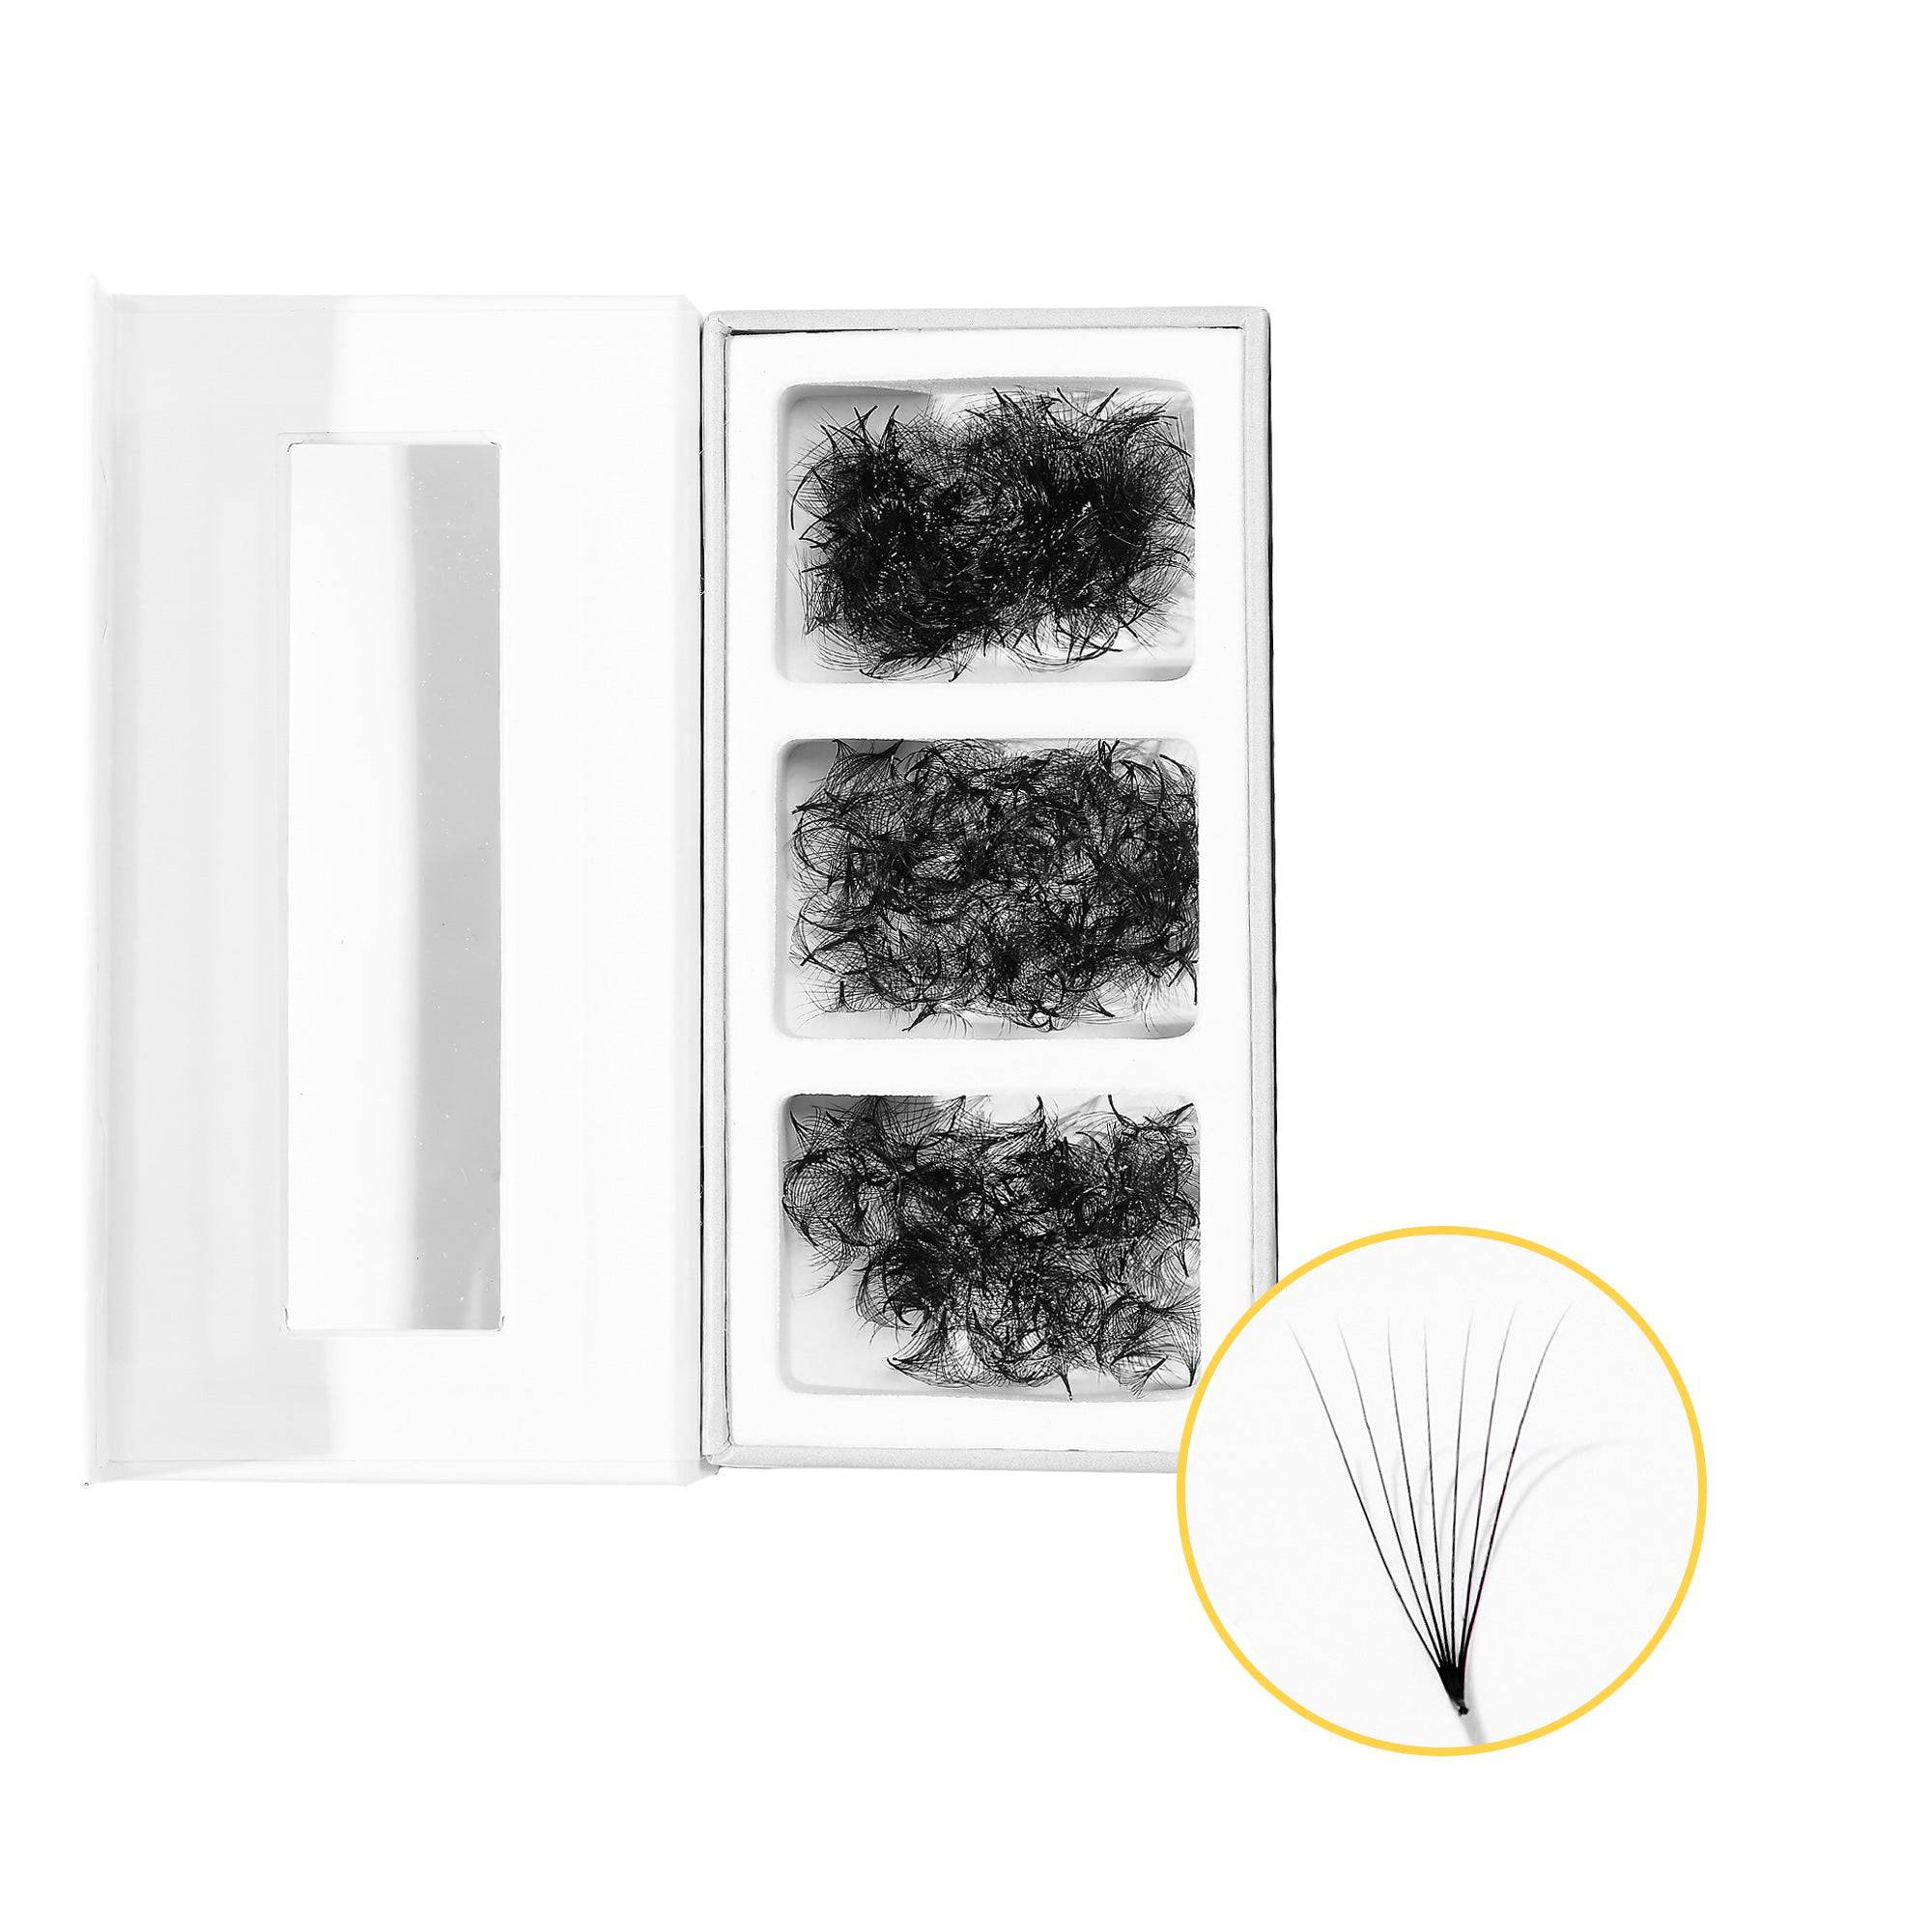
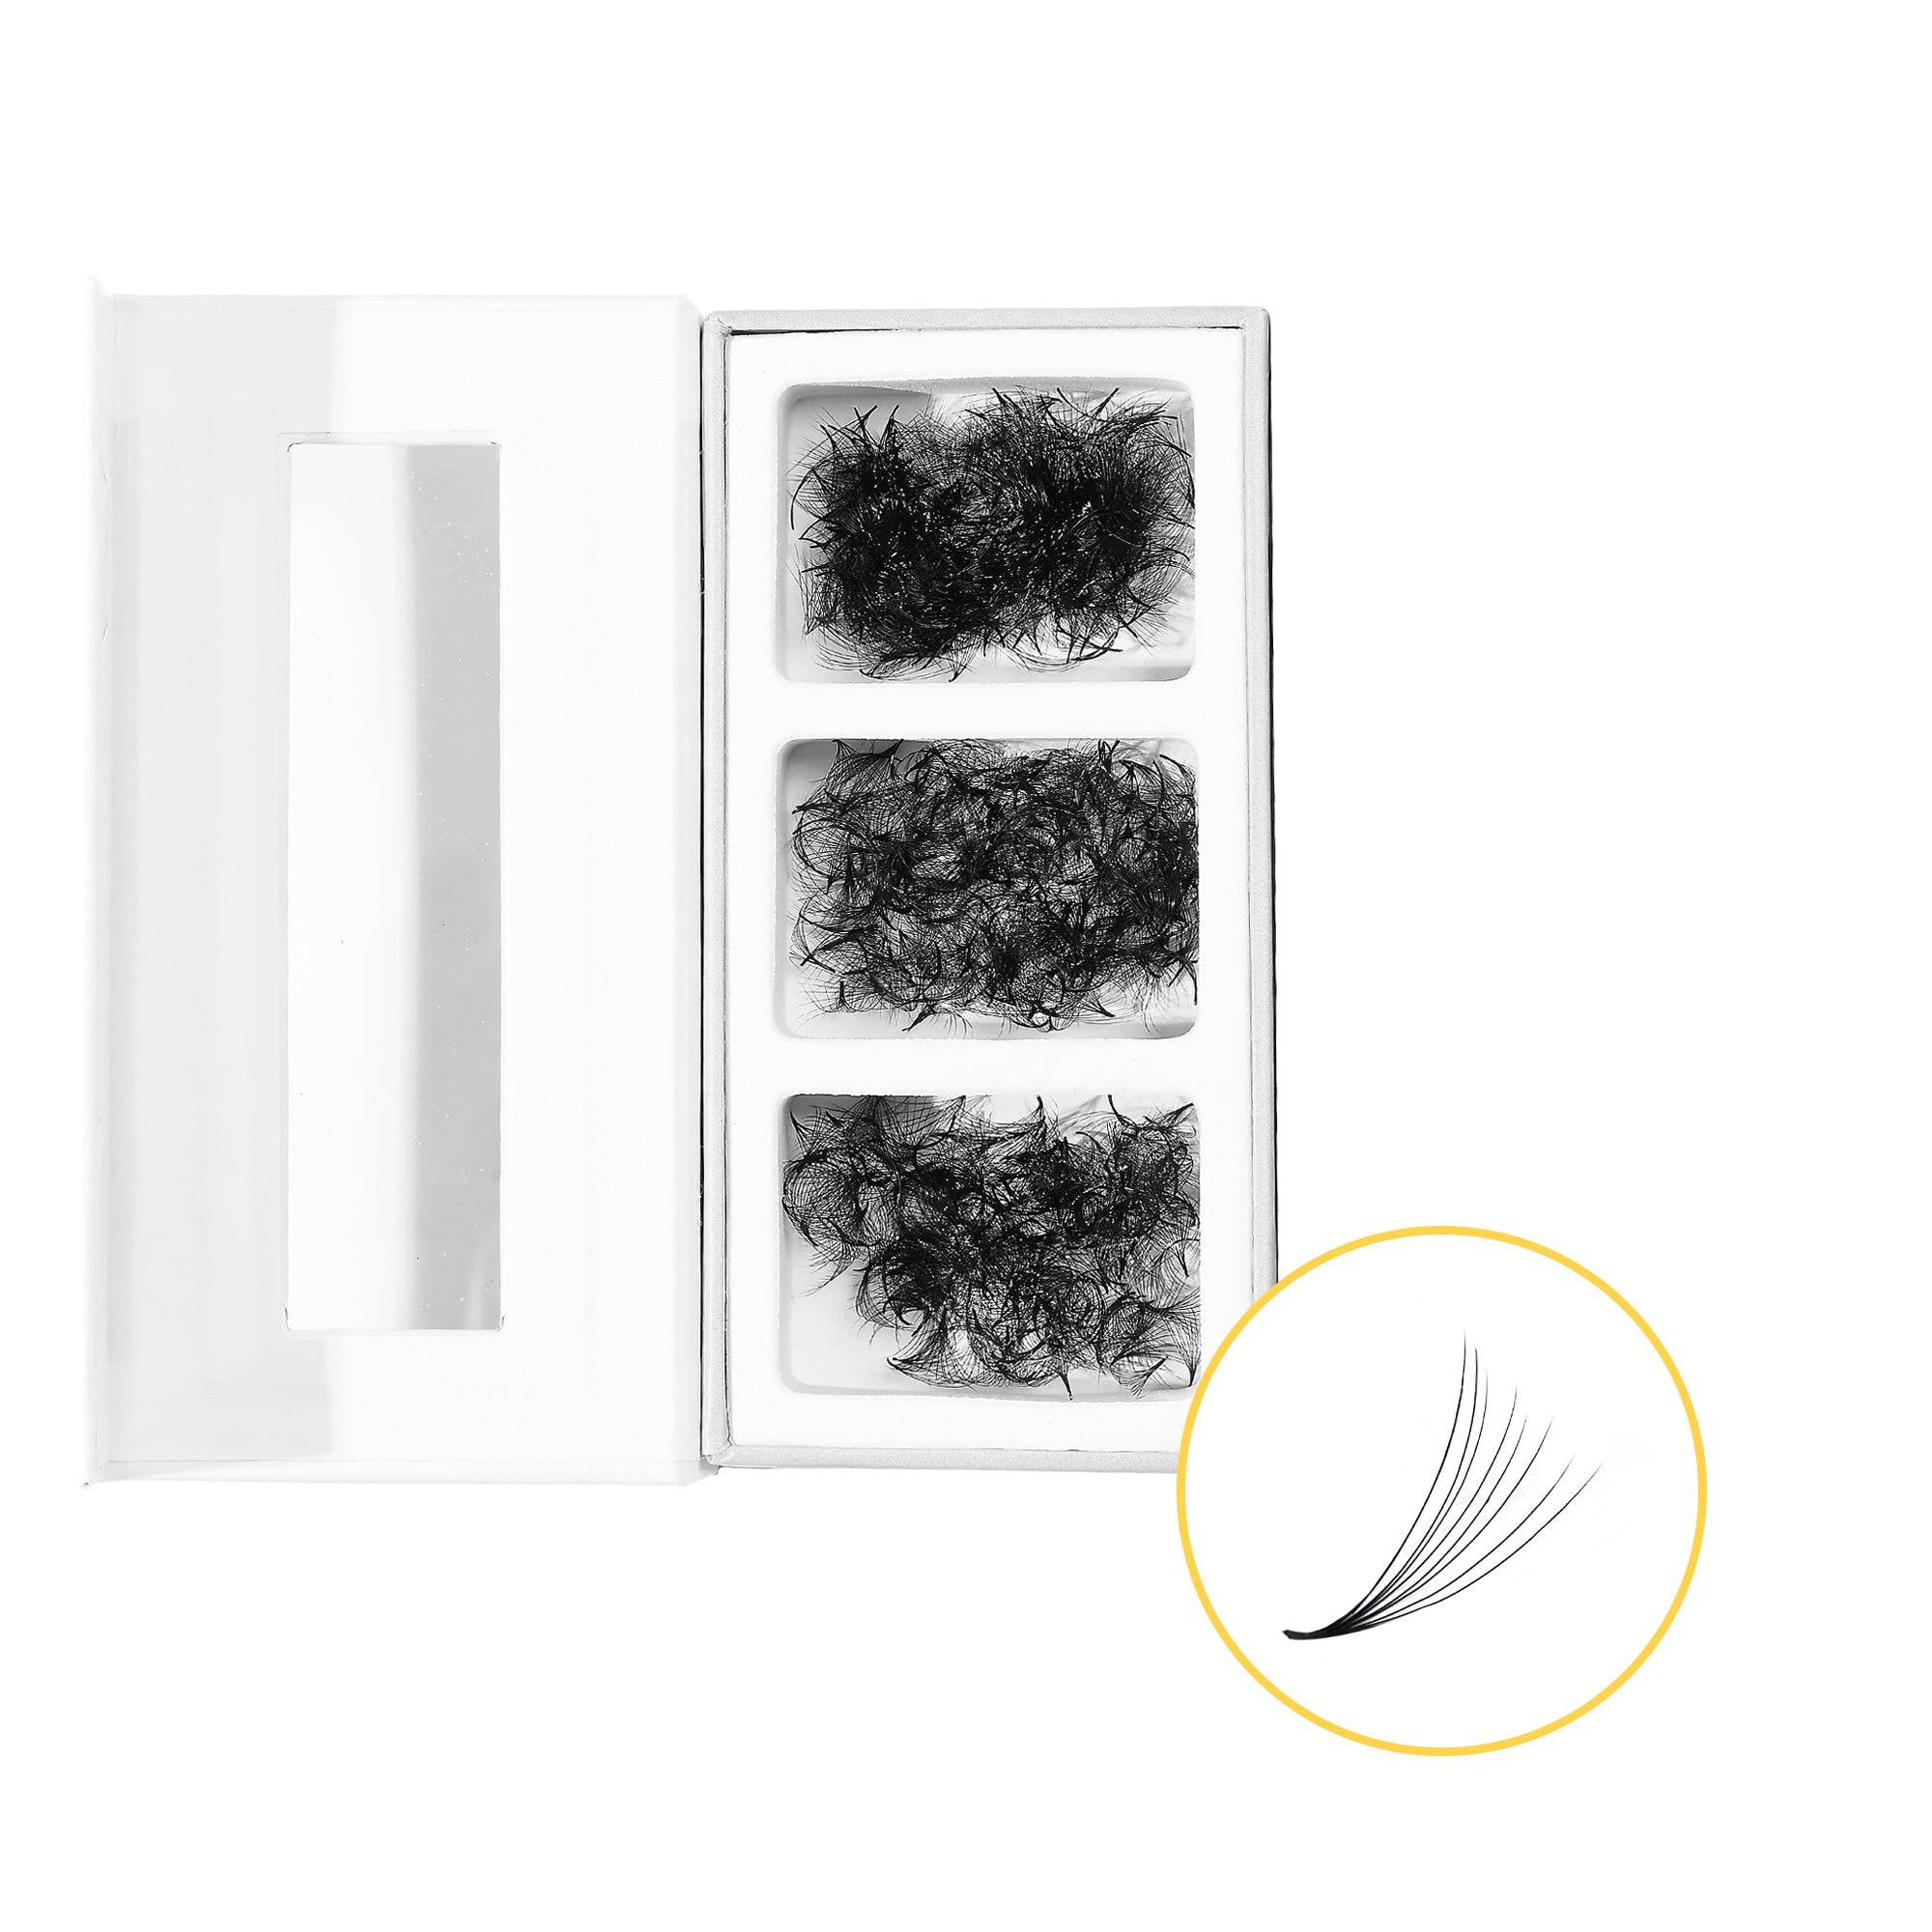
- Fake eyelashes.
- Adhesive plaster.
- Brush lashes.
- Drying fan.
- Enterprise trunk for eyelash extensions.

You can buy eyelash extensions kits at stores specializing in cosmetic and beauty supplies, or you can buy them on e-commerce channels. Depending on the entry, you can choose the tools that are right for you.
In the eyelash extension kit, a tool that you need to get familiar with first and need to use successfully is eyelash tweezers. When choosing to buy, choose eyelash extension tweezers that are weighty, sturdy and suitable for your hand.
Regardless of the type of eyelash extension, the technician cannot skip the steps in the preparation before implementation. The specifics include 4 steps:
Step 1: Remove eyelashes with an oil-free cleanser, physiological saline or remove makeup to remove dirt that causes blepharitis (Oil reacts back to the connection of the eyelash glue).
Step 2: Prepare eyelash types suitable for eyelash extensions, it is best to choose according to the eye shape and condition of the real eyelashes. Then arrange lashes in order to save time choosing lashes.
Step 3: Sterilize eyelash extensions to ensure the prevention of eyelash infection and adverse effects on real lashes.
Step 4: Fix the lower lashes by applying specialized tape. This step is intended to limit the glue falling into the eyes or the eyelids are irritated to cause eyelash glue.
Shape the lower lash line with the aim of not letting the glue get into the eye or the area below the eye
Once all is ready, we proceed to make the mi connection.


