


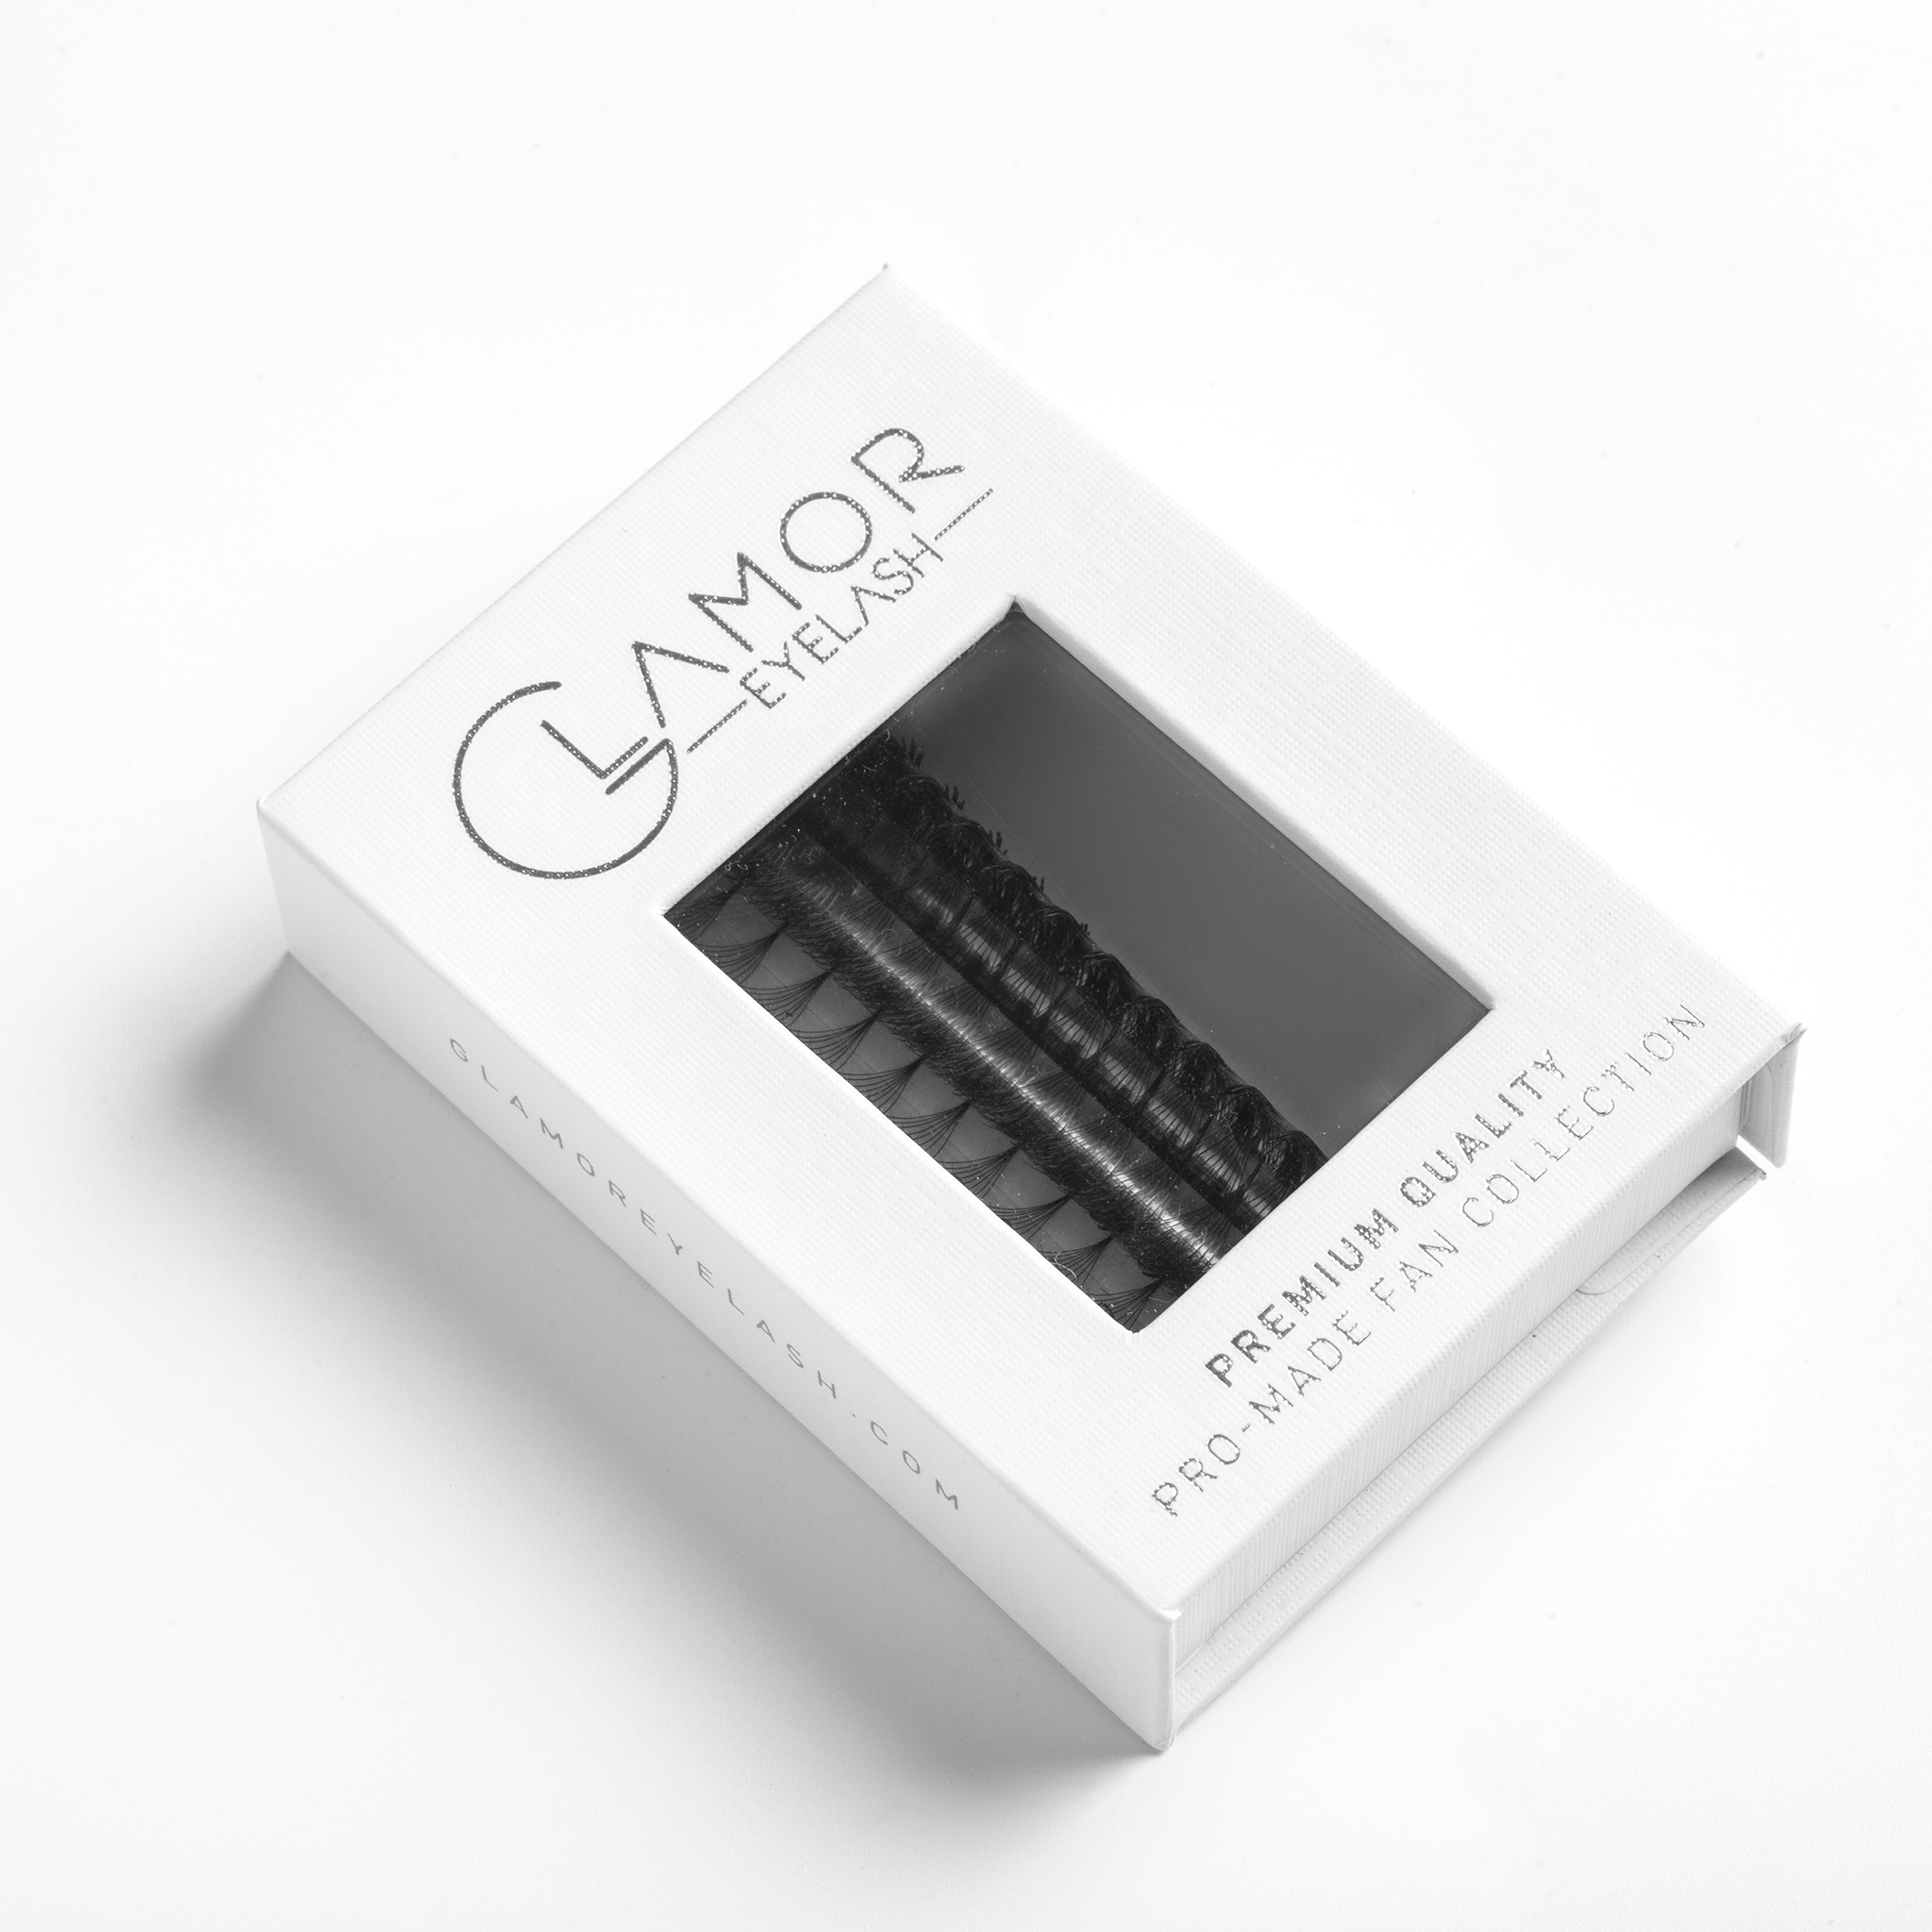

How to make black rose eyelash extensions
After you have all the tools and supplies, follow the instructions below to teach black rose eyelash extensions:
- Step 1: Remove makeup with an oil-free solution if the customer has makeup. Then clean the eyelids with a specialized cleaning solution or with physiological saline. This will help maintain the bond of the glue, making the eyelashes more durable. At the same time, it also limits the problems of infection and disease that can occur during and after the connection.
- Step 2: Fix the lower lashes with gel pad to avoid sticking when connecting the upper lashes first.
- Step 3: Determine the short length of the client's natural eyelashes. This helps her choose the length of false eyelashes to create the most beautiful natural eyelashes.
It is common to divide the eye length into 5 equal parts and hit a number of different sizes. The distance between the lash roots also needs to be accurately measured and scaled for easier joining.
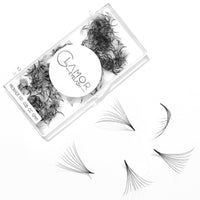
- Step 4: Create an outer front lash fan with different lengths of short strands for more convenience. Use tweezers to group from 3 to 6 lashes, the amount of adjustment depends on the customer, don't make it too thick, it will be unnatural. Hold the fan with your hand and tweezers to prevent it from spreading and apply a little glue to fix it.
Make sure to have a symmetrical arrangement, with long strands in the middle and short strands on the sides. Use only a moderate amount of glue so as not to make the fan lash too thick. Newcomers to black rose eyelash extensions should apply this method to be more accurate. When you have mastered the new technique, directly connect each false eyelash and real eyelash.
- Step 5: Use tweezers to pick up ⅔ of the lash body and dip the newly created lash fan base into the glue. Fix the lash fans to the real lash and adjust so that the lash body opens up beautifully. Note only take a sufficient amount of glue so as not to thicken, cause eyestrain and less durable eyelash extensions.
- Step 6: Continue to create fan eyelashes and connect them in turn until the upper lashes are completed. View and re-adjust so that the eyelashes are spread, into the standard, beautiful and natural shape.
- Step 7: Use a special light to dry the glue faster and use a clean brush to brush your lashes more evenly and beautifully.
- Step 8: Remove the gel pad, perform the same steps above with the lower lashes and dry under a dedicated lamp.
- Step 9: Check the entire two lashes, you can brush them evenly to see where the eyelashes are missing or thick and compensate for correction.


