So you’ve completed your first lash extension training course and are now a qualified lash artist! ✨🎓 You are now ready to set up your space to take on clients. There are some essential items you need to service your clients.
As a lash business that is just starting out, we know you want to keep costs as low as possible, this is why we’ve created this list to inform you what is needed from the day you start! Apart from the essential tools such as tweezers, lash bed and lash glue, some other non-negotiable items are disposables.
Must have tools to have in your lash kit
Lash adhesive - Without Lash adhesive, how will the extensions stick on the natural lashes?! There are many different types of adhesive out there, but you need to purchase one that is best suited to your current lashing speed and your lash room environment.
It is best to have a hygrometer in your room to determine the temperature and humidity, so that you know what your average is and determine which lash adhesive works best.
For beginners we’d recommend starting off with our Smart adhesive. It has a cure time of 2-4 seconds which is enough time for any adjustments needed when applying extensions. It is best used in conditions of 21-25℃ and a humidity range of 50-65% for optimum results.
At GLAMOR we have a wide range of lash adhesive catered for beginners to experts! Why not have a look at which could be your next go-to adhesive.
Classic and Flat lashes - You need something to use the lash adhesive with, so why not use Classic and flat lashes, they are great starters for any kit!
Classic lashes will create an elevated mascara look that will suit anyone. The main difference between Classic and Flat lashes is the weight of each lash. Classic lash base is cylindrical, whereas flat lashes are concave at the base and have a split tip that creates a bit of flare. The most popular curls to use are C and D curl, both curls will cater to a range of clients. Read more about the differences between classic and flat lashes.

Lash Tweezers - You need specific shapes of tweezers that are specifically designed for eyelash extension application. We recommend starting with at least a crane style lash tweezer that can be used for isolation or classic lash pick up. Additionally, a 45° lash tweezer is versatile enough for both classic and premade lash pick up.
Under-eye eye pads - Protect the delicate under-eye area from the sharp instruments used during the service, they also keep the bottom lashes tucked away during the service.
To upgrade the service, why not use our premium hydrogel under eye gel pads, it will have a cooling, soothing effect and keep the area moisturised throughout the service.
Flocked applicators - As an example, these applicators are used to scoop out cream remover and place the product on the lashes. Just be sure not to double-dip in the jar as that would be contaminating the product after touching the lashes. Always use a different flocked applicator to scoop out more product if needed. These are also used to apply other liquids for the service such as, Primer, Superbonder and even foaming lash cleanser.
Mascara wands - Don’t forget to brush out lashes in between and at the end of the service! You can also hand it to each client after their service. It helps keep the dust out of the lashes, lash line and realigns the lashes in the correct place.
Lash tapes - Lash tapes are a lash tech's best friend! Just like the under-eye eye pads, lash tapes are also used to keep bottom lashes hidden. There are many different lash tapes out in the market, some can be multi-purpose like the Clear PE tape and Nichiban tape. Both Clear PE and Japanese Nichiban tape are gentle on the skin, can be torn easily without the need for scissors, perfect for taping down bottom lashes and even manoeuvring the eyelids to reach the inner/outer corners.
Jade stone - A jade stone will hold the lash adhesive during the service. The cool surface will maintain the glue’s temperature for longer and has more surface area for when you need to replace the glue drop.
Hot tip! Before dropping the glue straight on to the jade stone surface, place down some microporetape and drop the glue on there. Not only will you keep your jade stone clean by peeling the tape off after each service, but you’ll also get to reuse it again and again.
Primer and Cream remover - Primer is used to cleanse lashes before service. Apply a small amount on the flocked applicators and swipe through the lashes, from base to tip, to get rid of any excess oil, dust or make-up residue before service. This will help ensure the extensions adhere to the natural lash.
Our GLAMOR cream glue remover is handy to remove the older lashes that have grown out. Sometimes the extension can be a little stubborn, so using some cream remover and leaving it on for 5-10 minutes will make it slide right off!
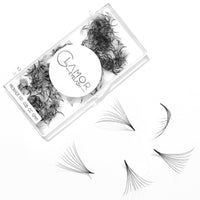
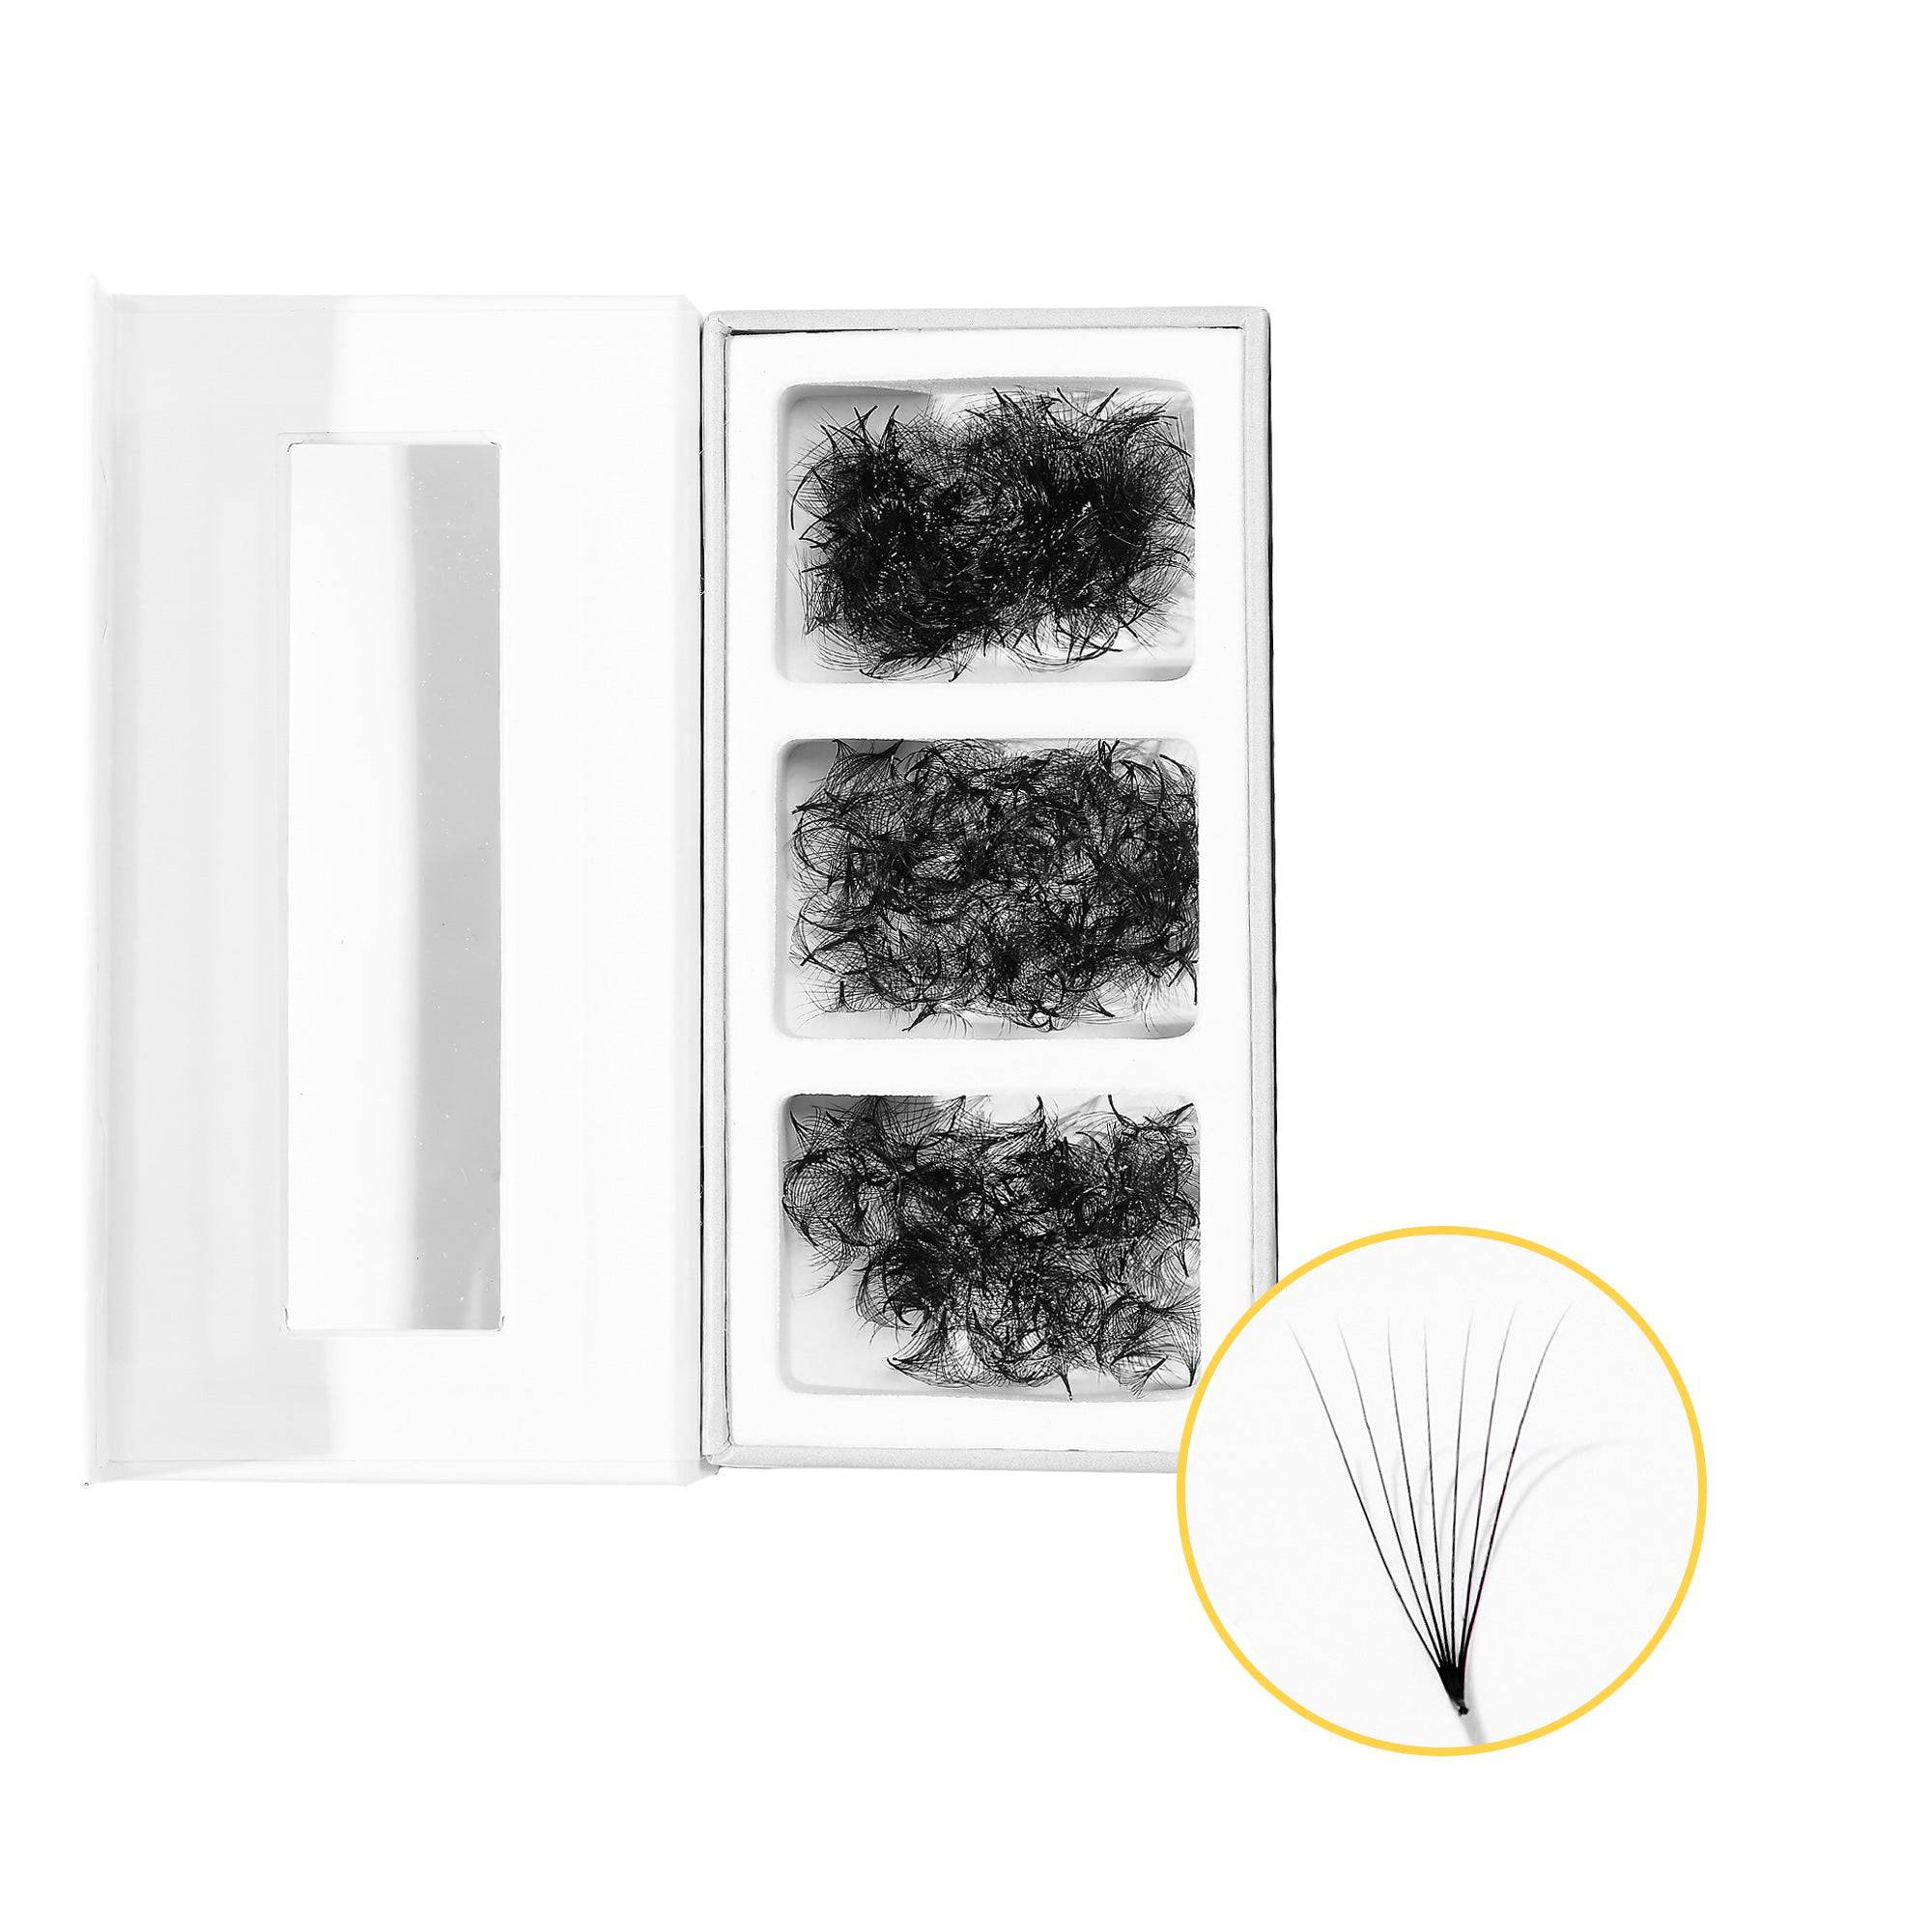
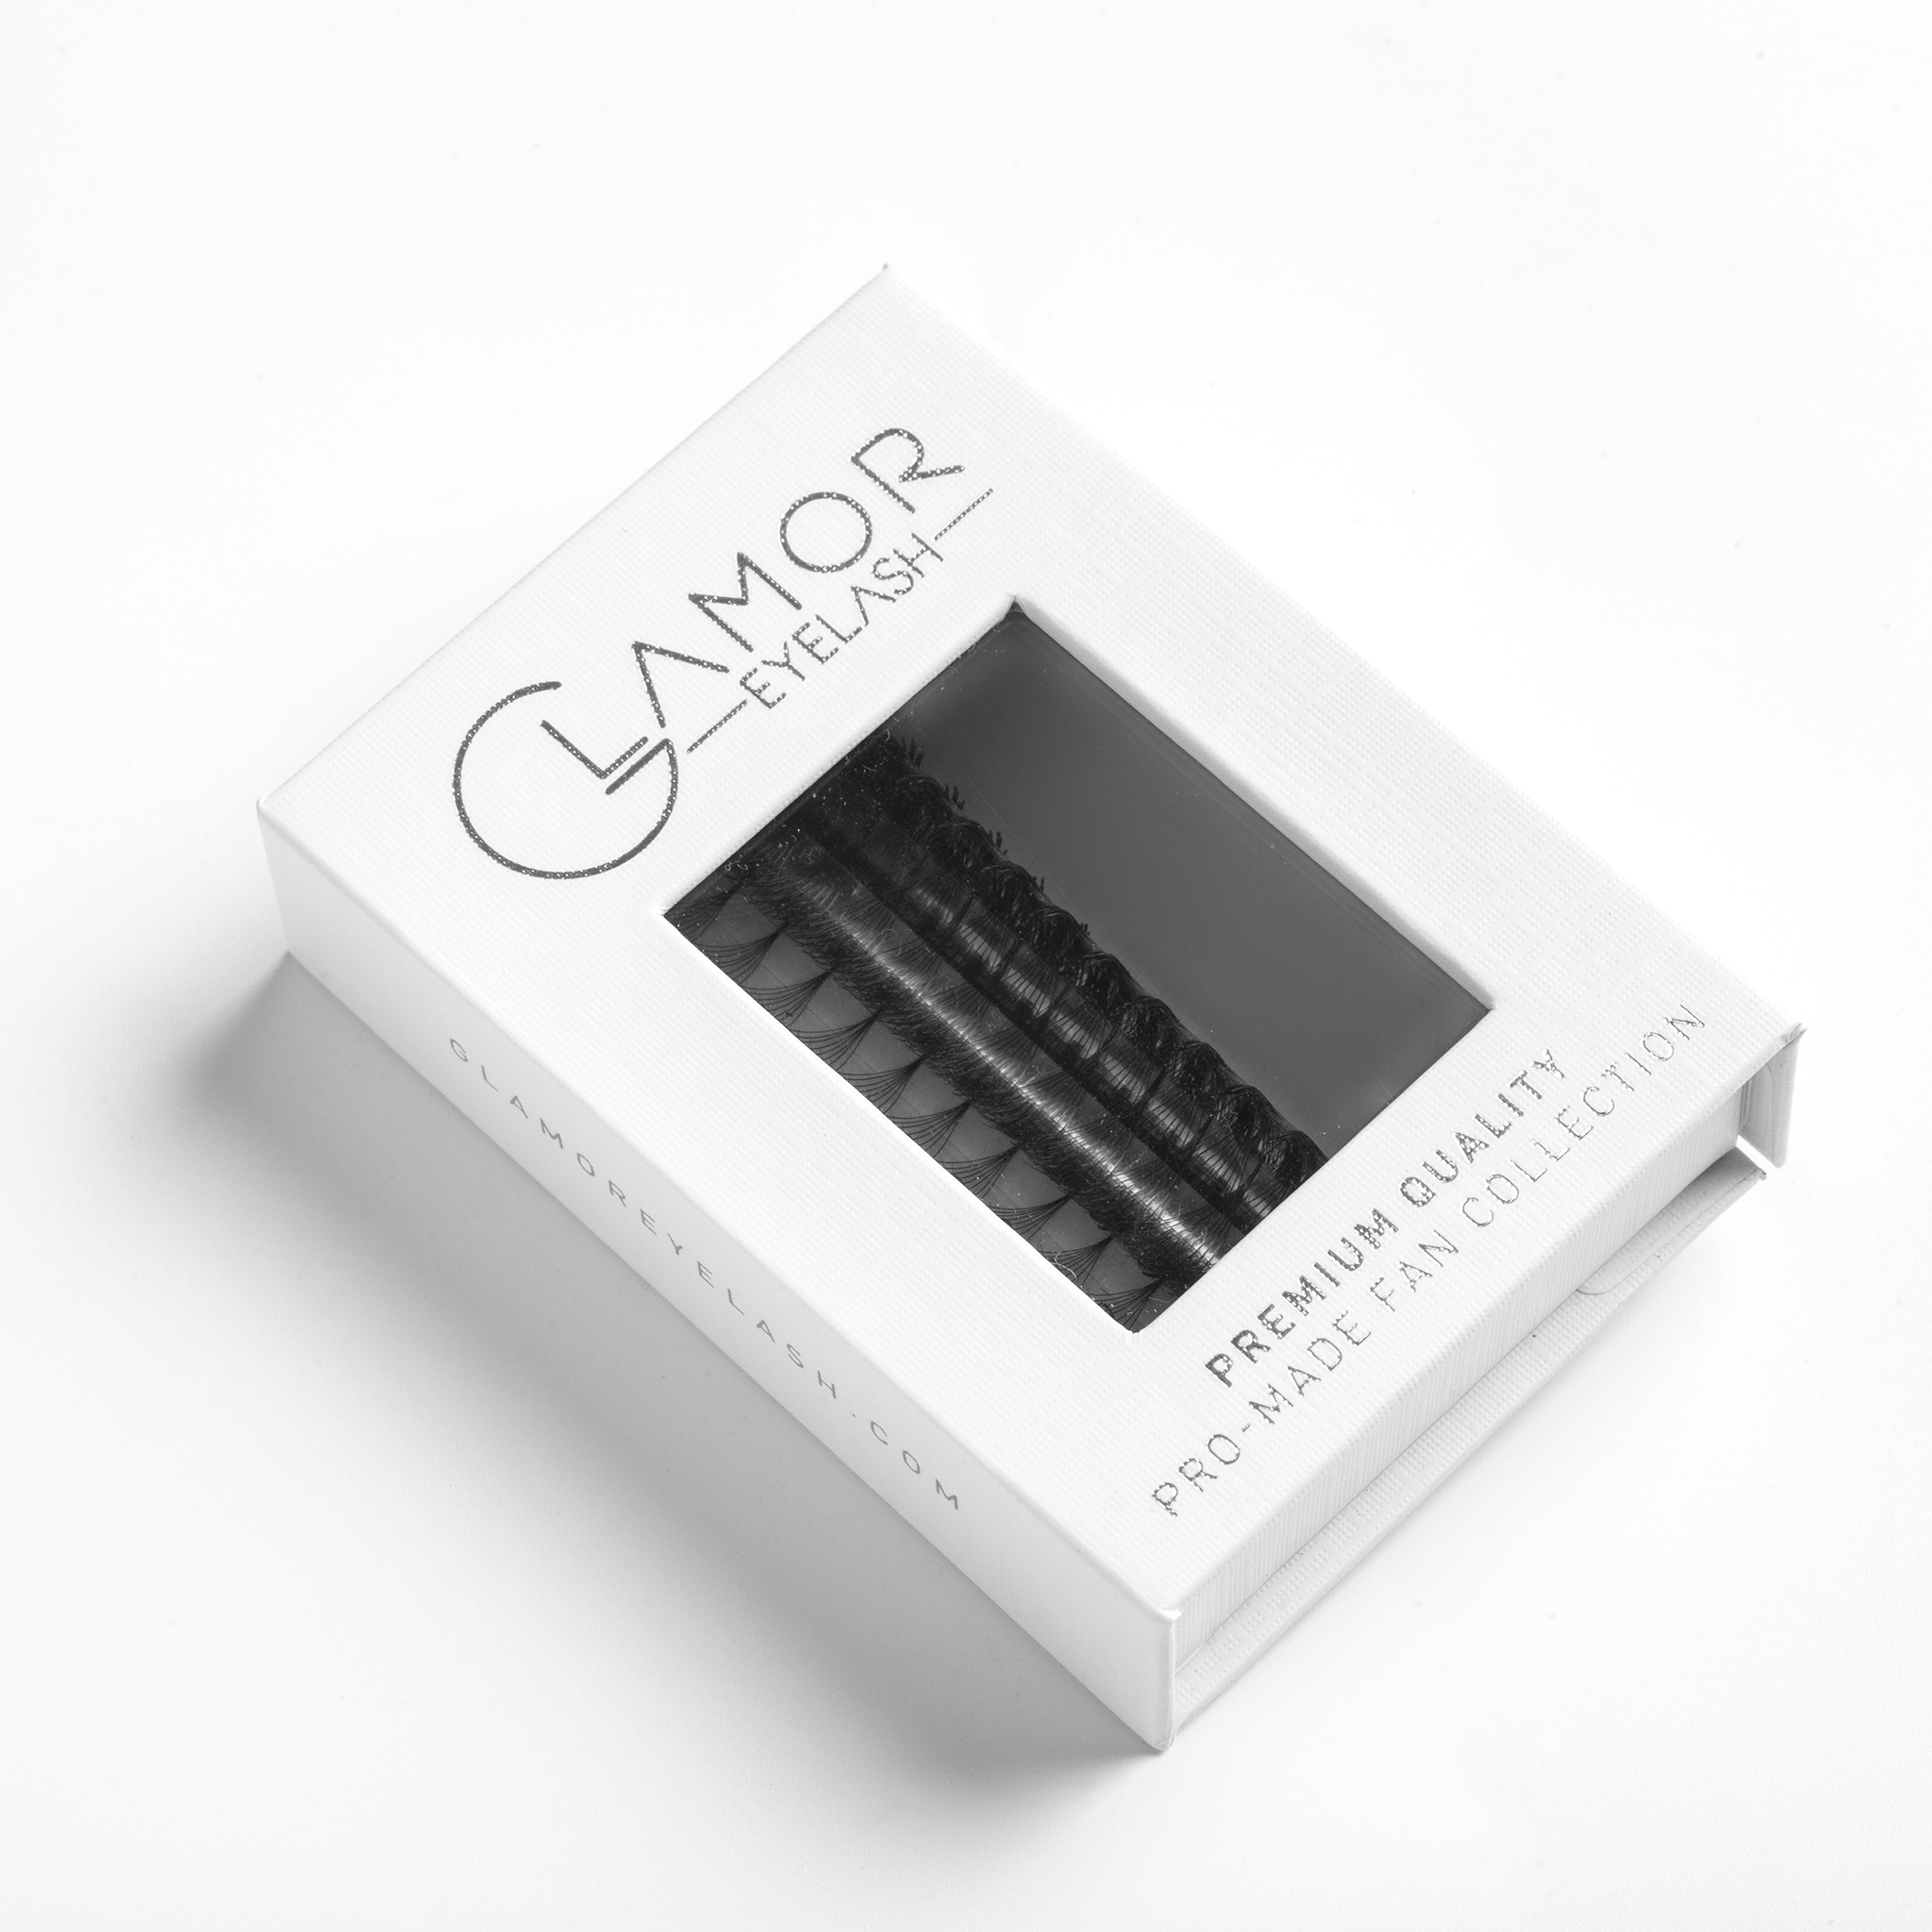
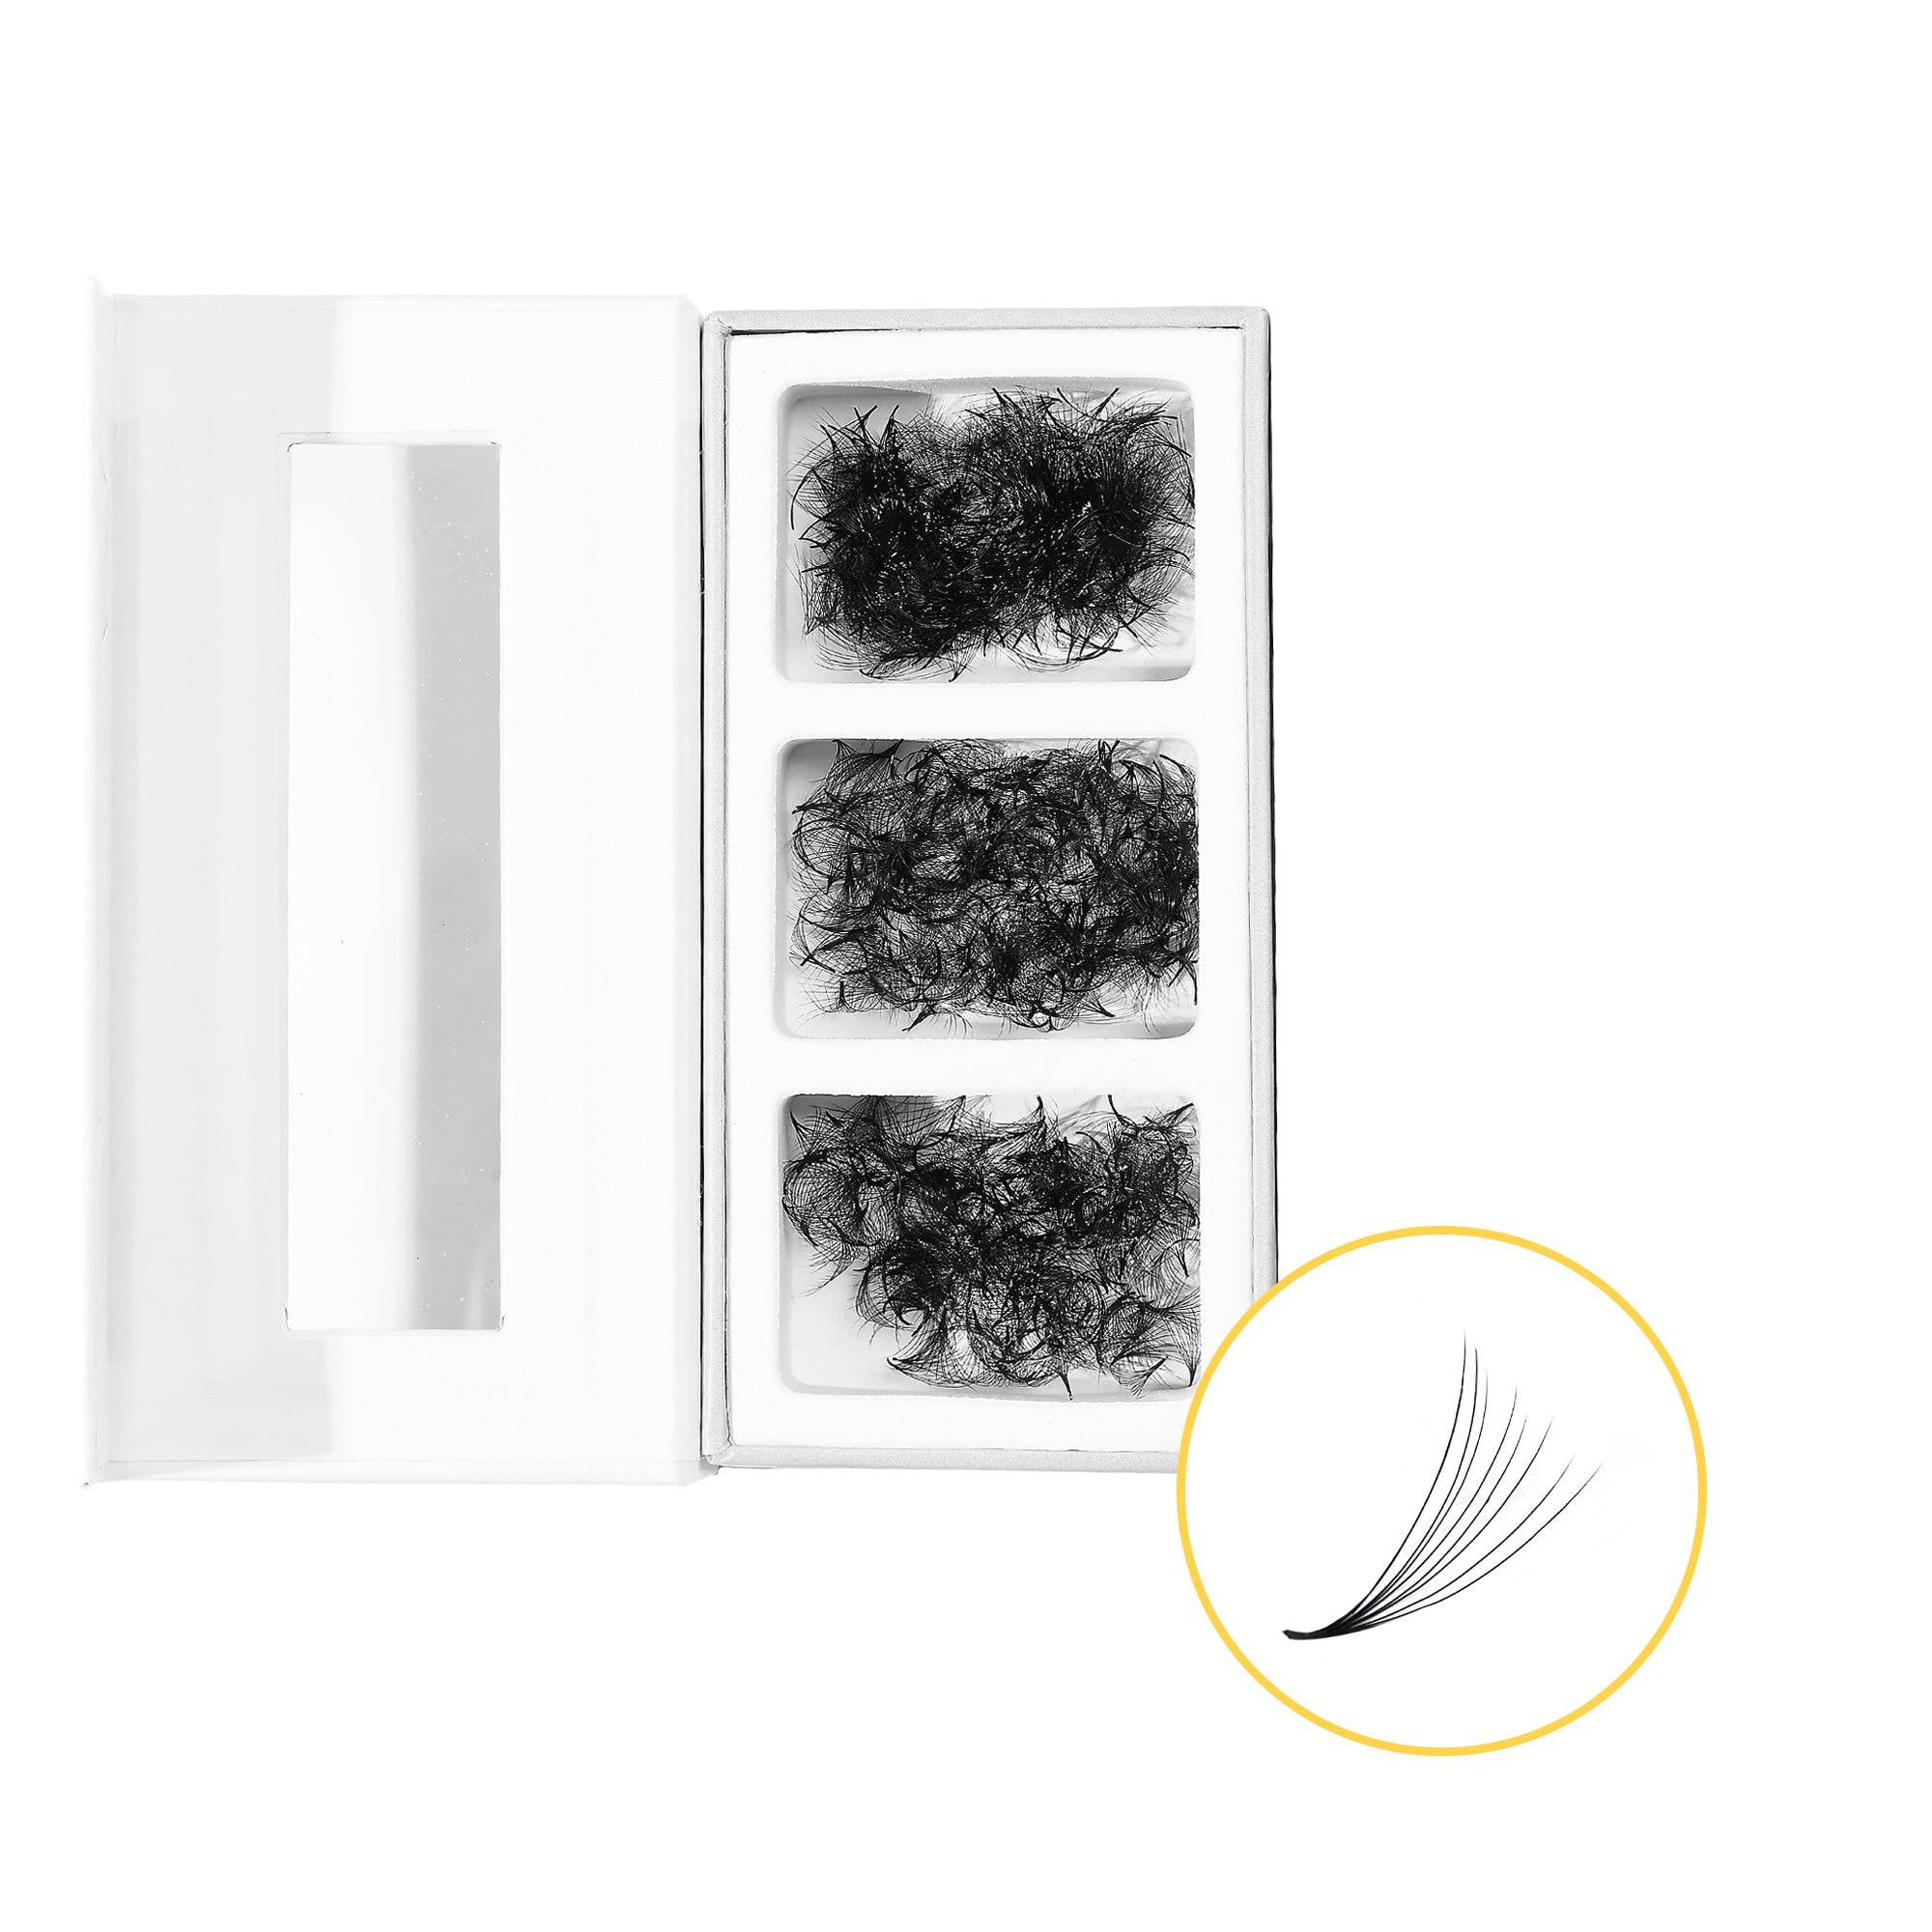
Other items you may want to consider after completing a few sets and are comfortable with classics, could be promade volume lashes in 3D or 4D dimension. These lashes would create a light, fluffy and voluminous style, suitable for everyone! The added drama, fullness and dark lash line will be addictive, you’ll want to add more dimensions!
At Glamor we also offer an essential eyelash extension student kit at 40% off RRP, this kit has all that you need in one handy bundle! There’s even an option of choosing the style of mannequin head you’d like to practise on, either the standard mannequin head with practice lashes or our premium mannequin head with reusable lashes.
Large Furnishings
Some other items you may need to actually start taking on clients, and have an environment suitable for servicing lash extensions is furniture. To keep initial costs low and accessible, you can find many great second hand options on Facebook marketplace, Gumtree or even some cheaper alternatives from Kmart or from online stores.

Lash bed - A standard massage table would be sufficient for starting out. You just need to ensure that you'll be able to fit your legs underneath the table for better posture when lashing. To make the bed look nicer and more comfortable for your clients, add a cover or extra cushion, or consider using an knee wedge pillow. There's also the option of an electric recliner if you're looking for something more luxurious.
Sitting stool - It’s good to check if the stool still has decent hydraulics (gas-lift lever, up and down motion of the seat), and to get one with wheels that are smooth to glide in and out from under the lash bed when needed. An added bonus will be if the stool has a backrest, to assist with posture when lashing for long periods of time.
Ring light - A ring light is another item that is essential when lashing, having a bright enough light will also make finding those pesky baby lashes a lot easier. Having adequate lighting will also make taking before and after photos a lot easier. Don’t forget to take photos for your portfolio.
Lash trolley - Keep all your essentials in one place within arm's reach. Having all your most used tools and equipment right next to you, will save you a lot of time and hassle during the service, instead of having to reach over or get up off your stool for more tape etc.
Now that you've got all the essential list of items that are needed in your lash kit, get lashing and start your lash biz!
